Two-wheel robot car
Pair two motors with an L298N or TB6612FNG H-bridge to build a driveable robot chassis with forward, reverse, and turning.
A small 5V brushed DC motor that turns direct current into continuous rotation for wheels, fans, and pumps.
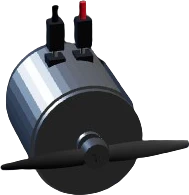
A brushed DC motor converts direct-current electrical energy into continuous rotary motion. Inside, a wound rotor (armature) spins between permanent magnets, and a mechanical commutator with sliding carbon brushes reverses the armature current twice per revolution to keep the rotor turning in one direction. It has just two terminals: a positive lead and a negative lead, so it is one of the simplest actuators to wire.
Rotational speed rises roughly in proportion to the applied voltage, and swapping the polarity of the two leads reverses the direction of spin. Because the motor is an inductive load that draws a large inrush current at startup and an even larger current when stalled, it cannot be driven directly from a microcontroller output pin. It is switched instead through a transistor, MOSFET, or a dedicated motor driver, and its speed is regulated with PWM on that driver.
This model is a 5V nominal unit measuring about 20 x 15 x 25 mm and weighing around 25 g. In the Tinkered simulator it is represented with a positive (+) and negative (-) terminal, and its shaft spins whenever the positive terminal is driven high relative to ground.
Verified from the Tinkered component library.
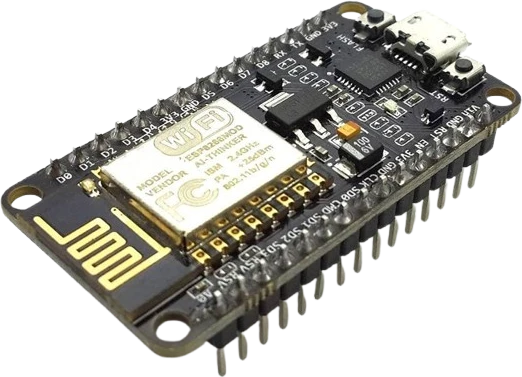
The DC Motor connects to any of the microcontrollers supported in Tinkered. Mind the 5 V logic level on 3.3 V boards.
The DC Motor is fully simulated in Tinkered. Wire it into a circuit, write your firmware, and read real values back with no physical hardware. Test your logic before you touch a breadboard.
Open it in the simulatorThe pin cannot supply the motor's inrush or stall current. This can trip the board's protection, reset the sketch, or blow the pin. Always drive the motor through a transistor, MOSFET, or motor driver.
When the switching device turns off, the motor's coil dumps a high-voltage spike back into the circuit. Without a freewheeling diode across the motor (or a driver with built-in clamping), that spike destroys transistors and can damage the microcontroller.
Motor current pulled through the onboard regulator causes voltage sag and brownout resets. Use a separate battery or supply for the motor and only share the ground line.
With a separate motor supply, the driver still needs the Arduino ground tied to the motor supply ground. Without a shared reference, the control signal is meaningless and the motor behaves erratically or not at all.
One transistor can only turn the motor on and off in a fixed direction. Reversing spin requires reversing the terminal polarity, which needs an H-bridge driver.
Pair two motors with an L298N or TB6612FNG H-bridge to build a driveable robot chassis with forward, reverse, and turning.
Switch the motor through a MOSFET and vary the PWM duty cycle to smoothly control airflow or cooling.
Combine the motors with IR or ultrasonic sensors so the microcontroller steers by adjusting each wheel's speed and direction.
Drive a peristaltic pump or mechanism from the motor, using a flyback diode and driver to handle the inductive load safely.
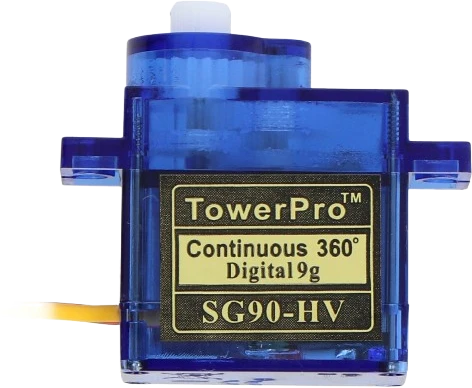
servo-sg90Compact positional servo
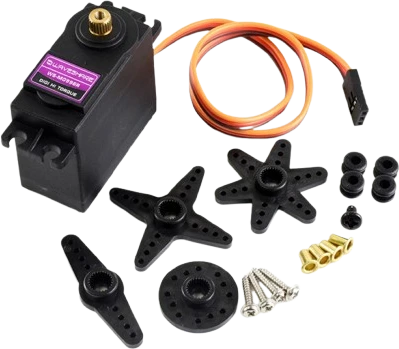
servo-mg996r-straightHigh-torque servo variant
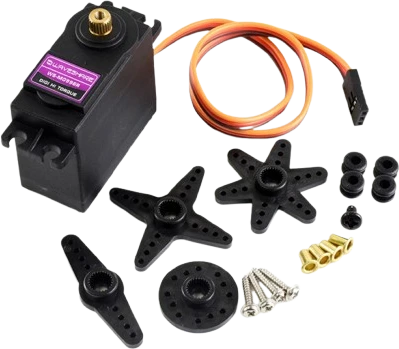
servo-mg996r-crossHigh-torque servo variant
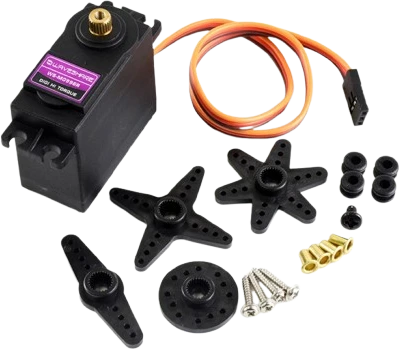
servo-mg996r-starHigh-torque servo variant
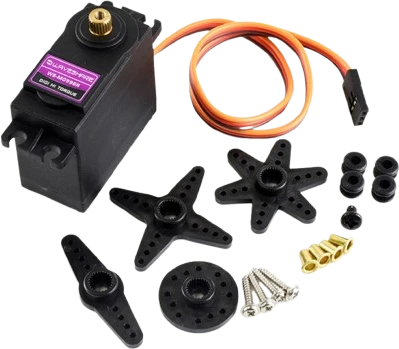
servo-mg996r-roundHigh-torque servo variant
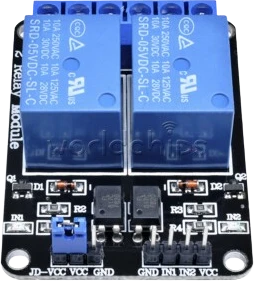
relay-5vElectromechanical switch
Drop the DC Motor into a circuit, write firmware, and simulate it in your browser, then deploy to real hardware. All in one editable Tinkered project.